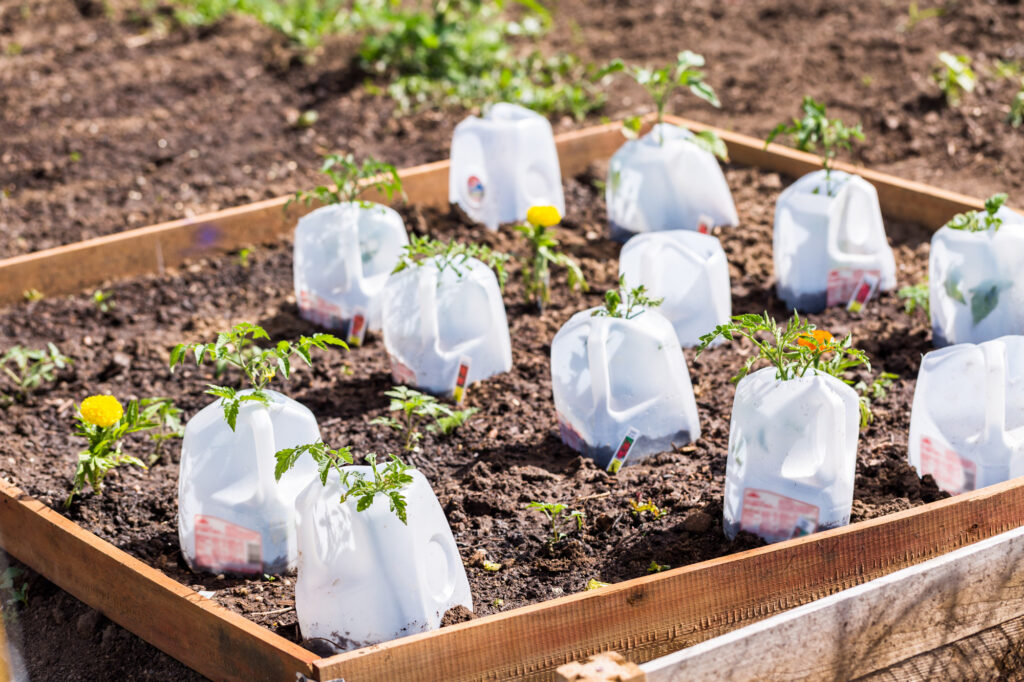
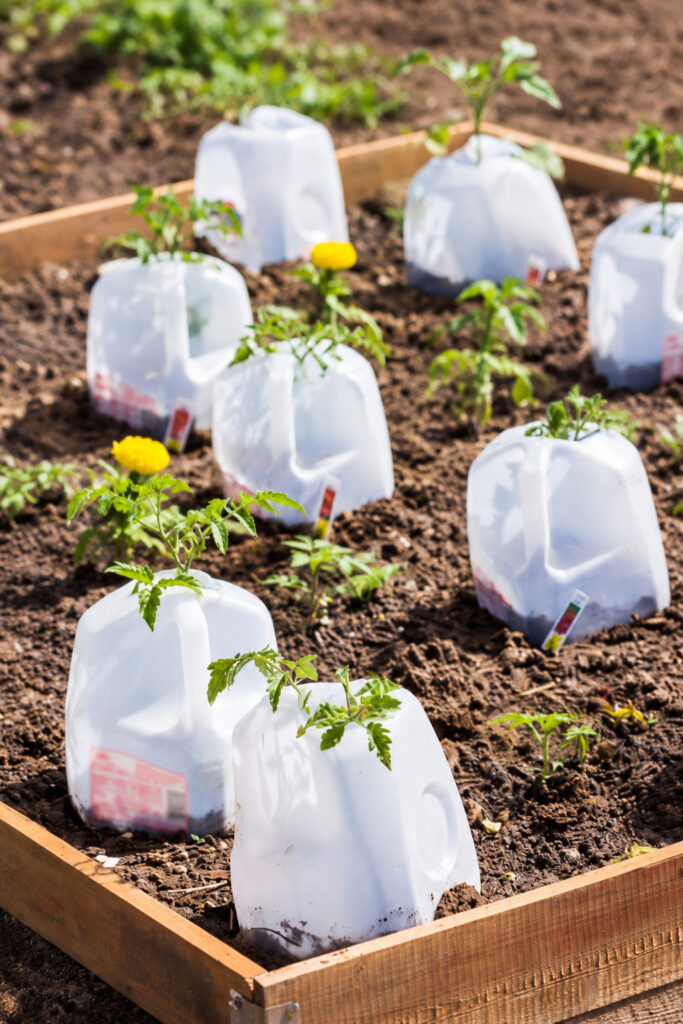
An empty milk jug can become a useful seed-starting container long before spring planting begins. With drainage holes, a vented top, and a few inches of growing mix, it provides a sheltered place for suitable seeds to spend the winter outdoors. As their chilling requirements are met and temperatures become favorable, the seeds can germinate without indoor grow lights or heat mats.
Learning how to winter sow seeds in milk jugs begins with choosing the right plants and preparing the container correctly. The basic project is simple, but timing, drainage, and spring ventilation all matter. A jug can protect seeds from some disturbance while also becoming surprisingly warm in sunshine, so it needs occasional checks through winter and more attention once seedlings emerge.
🌱 Why Use Milk Jugs for Winter Sowing?
A gallon milk jug combines a planting container and a protective cover in one lightweight package. Its lower section holds growing mix, while the upper section lets light reach developing seedlings and helps slow moisture loss. The handle makes the container easy to move when needed, and the hinged top gives you access for watering, thinning, and transplanting.
For seeds that need cold moist stratification, outdoor winter conditions can help break dormancy. Other suitable plants can be started in the same containers closer to spring. The jug is an unheated enclosure, however: it does not maintain a dependable frost-free temperature, and growing a plant this way does not change its natural cold tolerance.
📅 Choose Your Seeds and Starting Date
Begin with the germination instructions for the exact species you plan to grow. Purple coneflower, suitable milkweed species, black-eyed Susan, and blazing star are examples of native flowers commonly started through winter sowing. Choose plants appropriate to your region and eventual garden location, and check whether the seeds require chilling, light, scarification, or another treatment.
In many cold-winter climates, seeds needing a prolonged cold, moist period are sown from late fall through winter. December through February is a useful general window for many species, but the required treatment length should determine your schedule. A seed needing months of chilling cannot be treated the same way as one needing only a few weeks.
Hardy annual flowers and cool-season vegetables are generally sown later, closer to spring. Snapdragons, kale, cabbage, and certain lettuces are possibilities, depending on local conditions. Heat-loving crops such as tomatoes, peppers, and basil are less suitable for a beginner’s midwinter batch. Where winters are too mild to provide a species’ required chilling, follow an appropriate refrigerator-stratification method before sowing.
🧰 Supplies for Milk-Jug Winter Sowing
Gather everything before cutting or planting:
- Clean gallon milk or water jugs that allow light through.
- A well-drained, soilless seed-starting mix or potting mix suitable for seedlings.
- Seeds with clear germination instructions.
- Scissors or another suitable cutting tool.
- A tool for making drainage holes.
- Weather-resistant tape.
- Durable plant labels and a pencil or weather-resistant marker.
- Water and a bowl or bucket for moistening the mix.
Clear and translucent jugs are suitable; opaque containers that block light are poor choices once seedlings emerge. Use containers that remain sturdy enough to handle, and allow sufficient room above the growing mix for leaves to develop.
✂️ How to Prepare and Plant Your Milk Jugs
Step 1: Wash the Jug and Remove the Cap
Wash the jug thoroughly with warm, soapy water, then rinse away soap and remaining milk residue. Starting with a clean container reduces the amount of old organic material left around the seeds.
Remove the screw cap and leave it off. The open neck provides ventilation and allows precipitation to enter. Taping the cut seam later should not turn the jug into a sealed container; air exchange remains important throughout the process.
Step 2: Cut a Hinged Opening and Add Drainage
Carefully cut around the jug above the area that will hold approximately 3 to 4 inches of growing mix. Leave a small section connected near the handle so the upper part opens like a hinged lid. Jug shapes vary, so check that the lower section will be deep enough before cutting. Work on a stable surface and take care with sharp tools and cut edges.
Make several drainage holes across the bottom. Check that water can escape freely rather than collecting in a deep pocket. The container will be exposed to wet weather, and saturated growing mix can create problems even when the air is cold.
Step 3: Add Moist Growing Mix
Moisten the growing mix in a separate bowl or bucket until it is evenly damp, similar to a wrung-out sponge. Fill the bottom of the jug with roughly 3 to 4 inches of mix, settling it gently without compacting it. Allow excess water to drain before sowing.
Use a mix intended for container growing or seed starting. Soil dug from the garden can become too dense in a small container and may bring in weed seeds or other unwanted organisms. A suitable mix should retain moisture while allowing excess water to move through.
Step 4: Sow Seeds at the Correct Depth
Follow the seed packet’s instructions rather than covering every seed with the same amount of mix. Some seeds need light for germination and should remain on the surface; others need a specified covering. Press surface-sown seeds gently into contact with the moist mix.
Plant one species or variety per jug and sow thinly enough to leave growing room. This makes it easier to identify seedlings, monitor germination, and separate plants later. Crowded seedlings may need thinning or potting into individual containers before the garden is ready.
Step 5: Label the Jug and Secure the Top
Write the plant name, variety if relevant, and sowing date on a durable label inside the jug. Add an outside label as well. Some markers fade outdoors, so the internal label provides a useful backup. Keep the seed packet or record any special germination instructions.
Close the hinged top and tape around the cut seam to hold it securely. Leave the neck open and keep drainage holes unobstructed. The top should remain easy to reopen when watering or ventilation becomes necessary.
Step 6: Set the Jug Outdoors
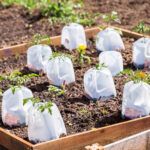
Choose a bright outdoor location that receives some sunlight and precipitation while offering protection from strong winds. Avoid roof runoff, standing water, and places where containers could be knocked over. An open crate can help stabilize several jugs, provided water drains away.
Consider how conditions will change in spring. A spot that is comfortable during winter can become too hot under prolonged sunshine. Keep the jugs accessible so you can check moisture and open the tops as needed. Containers beneath a covered porch will need more deliberate watering because rain and snow cannot reach them normally.
Step 7: Check Moisture During Winter
Inspect the jugs periodically, particularly after dry weather or a mild spell. When the mix is thawed, check whether it is still damp and water gently if needed. Use a light flow or mist that will not displace tiny seeds.
Condensation can suggest that moisture is present, but it does not prove that the entire root zone is adequately watered. Also check that drainage holes remain clear and the containers are not sitting in collected water. Aim for consistent moisture without prolonged saturation.
☀️ Care for Seedlings as Spring Approaches
Once green growth appears, check the containers more frequently. Sunshine can raise temperatures inside a jug quickly, even while outdoor air remains cool. Open the hinged top on suitable days and gradually increase ventilation as seedlings grow and the weather warms. Moisture can disappear faster once leaves are actively growing.
Watch overnight forecasts as well. Replacing the jug’s top does not guarantee protection from a hard freeze. The response should depend on the species, its stage of growth, and the forecast. Provide appropriate temporary protection or move vulnerable containers to a suitable sheltered location when necessary.
Check whether your growing mix contains nutrients. If seedlings remain in a nutrient-poor mix after developing true leaves, they may need a fertilizer suitable for seedlings, used according to its label. Avoid adding extra fertilizer automatically when the mix already contains it.
🌿 Transplant Winter-Sown Seedlings
Seedlings are easier to handle once they have developed true leaves and enough roots to hold some growing mix together. True leaves appear after the initial seed leaves and begin to resemble the plant’s normal foliage. Many winter-sown plants can be handled around the stage of one or two sets of true leaves, although species differ.
Gradually expose seedlings to conditions outside the enclosure before planting them in an open bed. They have experienced outdoor temperatures, but the jug has still sheltered them from some wind and changes in moisture. Transplant when the soil is workable and conditions are appropriate for the plant’s cold tolerance.
Water before separating seedlings, then lift them gently with a small spoon or similar tool. Support the roots and handle delicate plants by a leaf rather than squeezing the stem. Plant at the appropriate depth and water carefully afterward. If the garden is not ready, move crowded seedlings into individual pots and continue caring for them.
⚠️ Common Milk-Jug Winter Sowing Problems
If the mix stays soggy, inspect the drainage holes and the surface beneath the jug. Excessive moisture can encourage mold and unhealthy roots. Improve drainage and adjust watering or ventilation as conditions require. Repeatedly adding water to an already wet container will not help seeds germinate.
If seedlings wilt on a sunny day, check both temperature and moisture. An enclosed jug may be overheating even when the mix is damp. Open the top and assess conditions before assuming the plants simply need more water.
If nothing has sprouted, compare the date with the species’ expected germination requirements. The mix may still be too cold, chilling may be incomplete, or another treatment may be needed. Some native seeds emerge unevenly or take months to germinate. Check the instructions before discarding a container because neighboring jugs have already sprouted.
❓ Frequently Asked Questions
Do You Leave the Caps Off Milk Jugs for Winter Sowing?
Yes. Leave the screw caps off to maintain an opening for air and moisture. The upper portion of the jug still provides shelter without the cap. As spring temperatures rise, the neck opening may no longer provide enough ventilation by itself, so open the hinged top as needed.
Can the Growing Mix Freeze?
For suitable seeds adapted to overwintering outdoors, freezing conditions are an expected part of the method. However, seeds and emerged seedlings do not have identical tolerances. Once germination occurs, assess cold protection according to the plant and forecast rather than assuming every winter-sown seedling can survive a severe freeze.
Do You Need Snow for Winter Sowing?
Snow is not essential. What matters is providing suitable moisture, temperature conditions, and any required cold treatment. Rain or careful watering can supply moisture where snow is uncommon. A mild climate may still fail to provide enough chilling for particular species, even when the containers remain damp.
🪴 Start With a Small Batch
A few well-labeled jugs are enough to learn the method. Record what you sowed, when it sprouted, and when you began opening the top. Note any problems with drying, drainage, or excessive warmth so you can adjust the location and care of future containers.
Begin with plants whose requirements you understand, and check them more often as spring approaches. Those simple habits turn a recycled jug into a useful seed-starting space and help you produce plants ready for their next stage in the garden.
🔗 Related Articles
- Winter Gardening Checklist: Essential Tasks to Prepare for Spring
- Butterfly Weed Care
- Black-Eyed Susan Care
- Columbine Care
📚 Sources & Further Reading
- University of Missouri Extension: Winter Sowing Seeds.
- University of Illinois Extension: January and February Are Prime Time for Winter Sowing.
- South Dakota State University Extension: Winter Sowing in the Northern Great Plains.
- Kansas State University Research and Extension: Winter Seed Sowing.
- University of Minnesota Extension: Jug It and Grow: Winter Sowing for Pollinator Gardens.
- University of Maine Cooperative Extension: Winter Sowing — Maine Home Garden News, February 2026.
- University of Maryland Extension: Collecting & Sowing Native Plant Seed.
- University of New Hampshire Extension: Starting Plants From Seed.
- University of Illinois Extension: Seed Stratification: What Seeds Require Cold Treatment.
- Cornell Cooperative Extension: Winter Sowing 101.